UI Controls
The Canvas
The canvas is an infinitely large space, that allows users to construct tensor networks freely. It was designed to hold multiple tensor networks so that users can create, clone, modify, analyze and compare multiple constructions on the same workspace. On the top right the users will see the User menu, link to the Documentation and Share the canvas buttons. The Canvas menu and the Panel toolbar are on the top left corner and the canvas minimap is on the bottom right corner to facilitate Navigating the canvas.
Navigating the canvas
The canvas can grow large, and so navigation is facilitated by zoom - using Ctrl + mouse wheel and panning with Alt + mousedrag. The collapsible minimap shows the content in a gray rectangle, with a red rectangle showing the currently selected part of the content.
The user menu
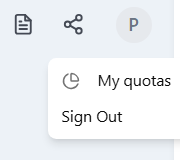
The user menu allows for signing up and signing in via Github and Google accounts, and signing out. See FAQ for what features require authentication. Only the email address of the user is stored, no other information is used from the accounts.
This menu also allows to investigate the monthly quota left for the user. See Cloud Runtimes to understand how quotas work.
Sharing the canvas
Sharing the canvas is possible through JSON or an encoded URL as described in Sharing
Documentation
The documentation leads to https://planqtn.com/docs/.
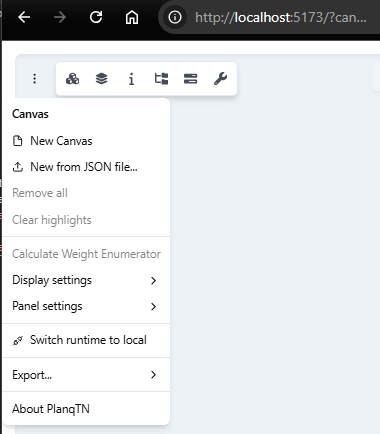
Canvas menu
To find the canvas menu, hit the triple-dot button on the top left of the canvas.
Canvas menu/Display settings

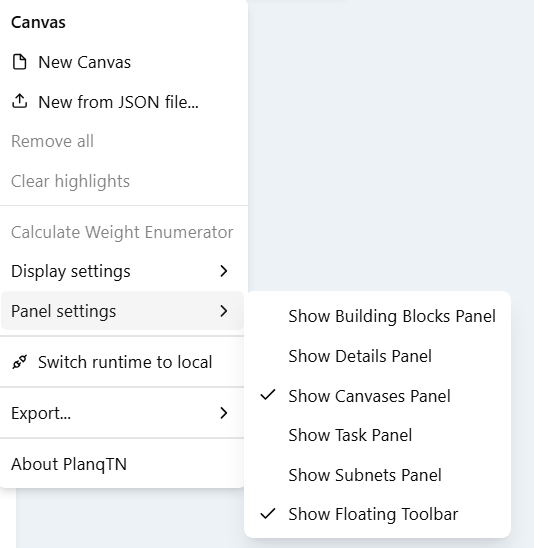
Canvas menu/Panel settings
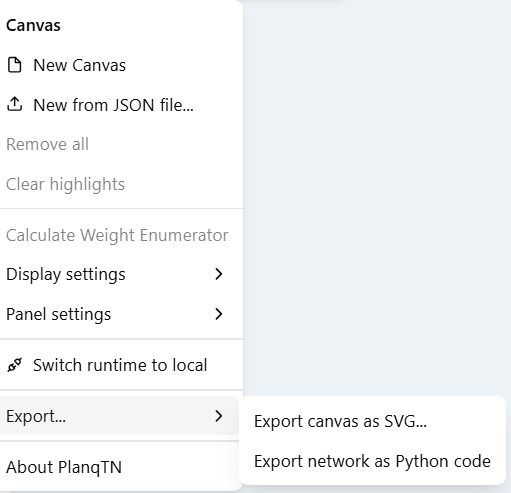
Canvas menu/Export
Panel Toolbar
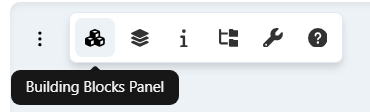
With the panel toolbar the user can control the visibility of the
- Building Blocks Panel - building blocks (tensors and networks) for tensor network construction
- Canvases Panel - to manage the user's canvases
- Details Panel - to show the details of the canvas, a selected LEGO or a selected subnetwork
- Subnets Panel - to manage cached sub networks and related calculations
- Floating toolbar - for selected subnetworks
Hotkeys
| Hotkey | Action | Category |
|---|---|---|
| f | fuse LEGO | subnet transformation |
| p | pull out same colored leg | ZX transformation |
| Ctrl+A / Cmd+A | select all LEGOs on canvas | Canvas controls |
| Ctrl+C / Cmd+C | copy selected LEGOs and their internal connections | Canvas controls |
| Ctrl+V / Cmd+V | paste copied LEGOs and their internal connections at the mouse pointer | Canvas controls |
| Delete / Backspace | delete selected LEGOs and their internal and external connections | Canvas controls |
Building Blocks Panel
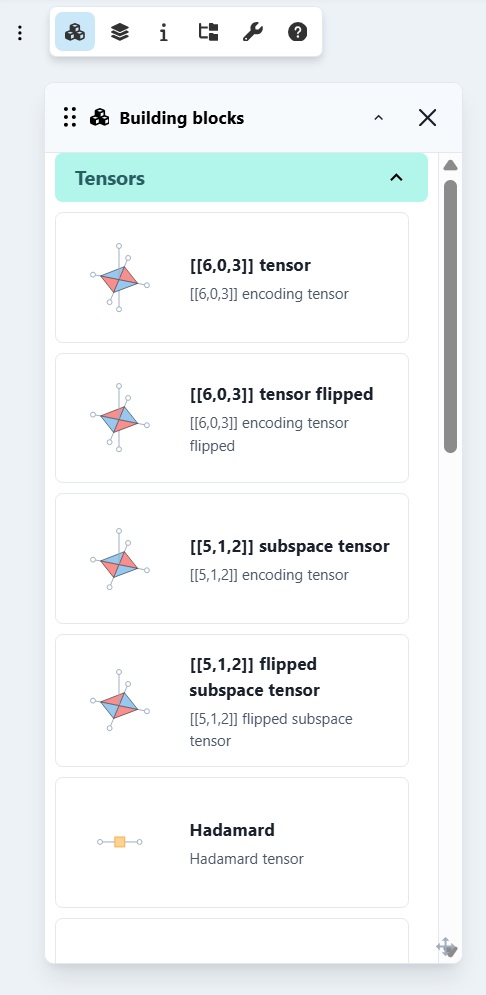
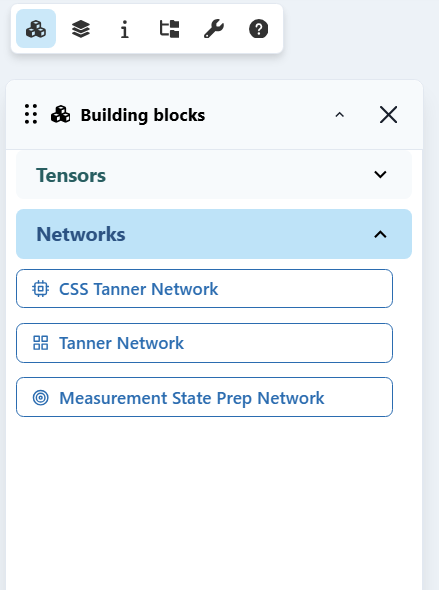
PlanqTN supports two types of building blocks, tensors and networks. They can be accessed through the Building Blocks Panel accordion, Tensors on the top and Networks on the bottom.
Tensors can be dragged from the Building Blocks Panel, to the canvas. See more details on the supported LEGOs in Build tensor networks.
Networks on the other hand are just simple buttons, and the generated network will be placed around the origin of the canvas. See more details on the supported parametrized tensor networks in Build tensor networks.
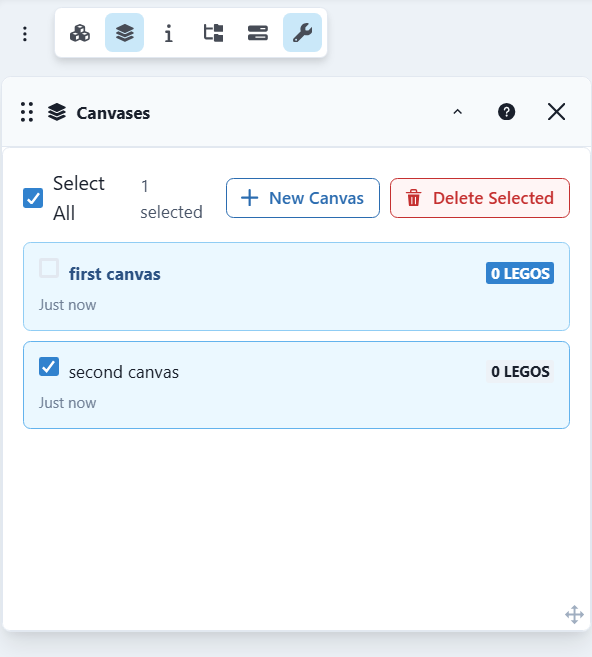
Canvases Panel
The Canvases Panel let's you maintain the canvases in the local storage of your browser. All the data you have is stored locally as of the first version of PlanqTN.

You can delete a canvas by hitting the trash can icon, or by selecting multiple ones and hitting the Delete All button. You can create a new canvas by clicking the New Canvas button. The Canvases panel can be activated from the Canvas Menu or using the Panel Toolbar.
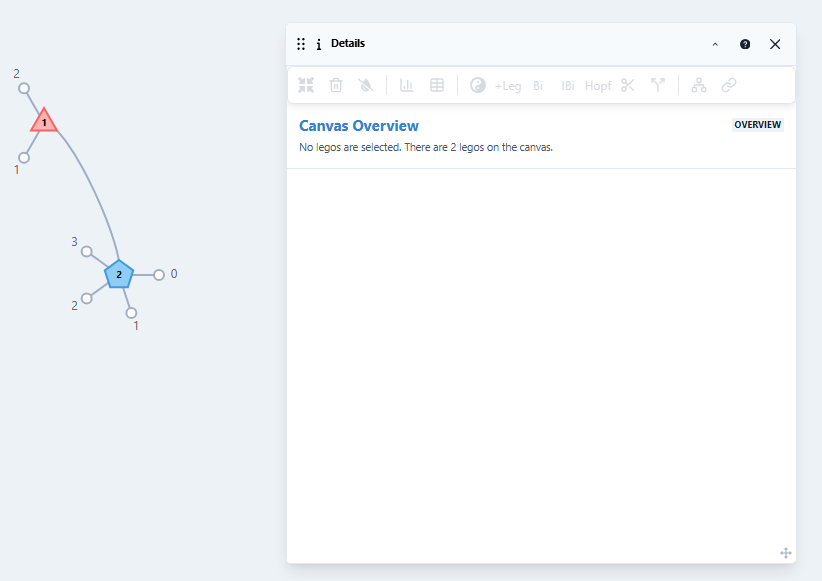
Details Panel
The Details Panel gives an overview of the canvas, the selected LEGO or the selected subnetwork.
For the canvas it shows the number of LEGOs.
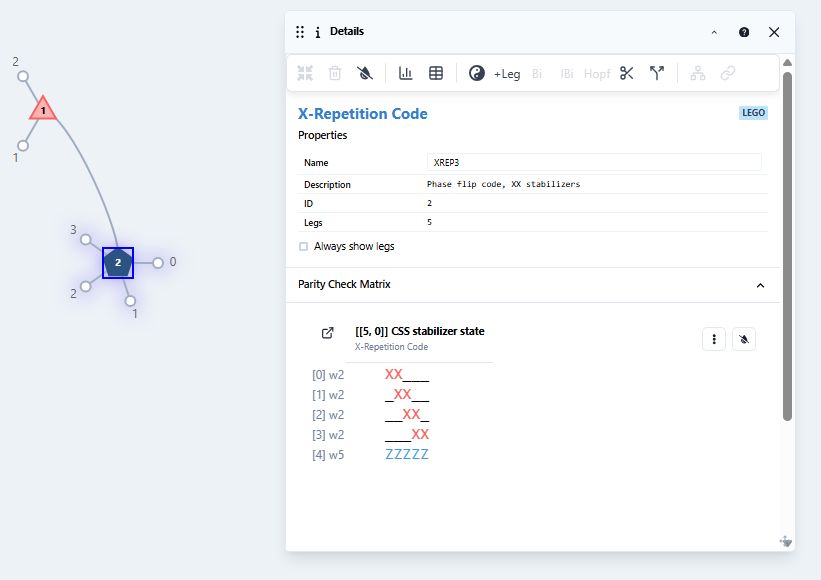
For LEGOs and subnetworks it has 4 sections:
- The toolbar, with actions enabled specific to the selection. This is the same as the Floating toolbar next the selections when it's enabled.
- The Info panel, with some details about the LEGO/subnetwork, allowing for renaming the LEGO/subnetwork.
- The collapsible Parity Check Matrix section - for LEGOs, this has the default parity check matrix. For a subnet the parity check matrix calculation has to be requested and stored. This action caches the subnet and names it by default by the number of LEGOs (of course the name can be changed afterwards). The Parity Check Matrix widget is interactive, and allows for highlighting connections / dangling legs and reconfiguring the generators.
- The collapsible Weight enumerator calculations section - when calculating weight enumerators, new tasks and their results appear here. They can be deleted and collapsed.
The Parity Check Matrix widget
The Parity Check Matrix widget is an interactive tool to explore the Pauli stabilizers of a stabilizer state or subspace. It shows when the given stabilizer generators are CSS or non-CSS. It provides its own menu for interactions and allows for certain sorting the generators, combining the generators, selecting them for highlights in the tensor network and navigating to the columns corresponding to the LEGOs with the given legs.
In these example video snippets we'll walk you through these.
- In this video we show the parity check matrix of a LEGO on the details panel
and then calculate the parity check matrix for a subnet, and name it My
network. Then we show how clicking with Alt + Click can give a temporary
highlight and navigation to the corresponding LEGO:
- Then, using the menu of the PCM widget, we'll CSS sort the generators, and
then we sort them by stabilizer weight. Dragging the rows, we recombine the
generators, while the weight label gets automatically updated. Finally, we
reset the by hitting "Recalculate".
- We create a subspace tensor network with the identity stopper and copy the PCM as a numpy array as well as a QDistRnd instruction for distance calculation.
-
Highlighting the tensor network is possible through LEGO-level row selections
- by single click on a row - selects/unselects a single row
- Ctrl+Click / Cmd + Click on a row adds/removes the row to/from the selection
- Clearing the selection is also possible by using the Clear highlights button on the toolbar from the Details Panel
-
Highlight the tensor network using tensor network level stabilizer generator is possible for the dangling legs as of now, internal legs have to be manually highlighted currently, track Github issue #129 for updates on automated internal leg highlights.
Subnets Panel
All calculations are done on a subnetwork of the full tensor network. These might have one or more LEGOS, and we call them subnets on the UI. These subnets are the organizing principle for the user to find calculations in the canvas. The Subnets Panel shows the active subnets on the canvas.
In the following video we show how subnets are created and removed:
- The user can name a subnet by either using the floating toolbar name input, the Details Panel or the Subnets Panel after the subnet is created
- Subnets are automatically created when the parity check matrix is calculated or when weight enumerators are calculated
- From the Subnet panel it is easy to find the subnet on the canvas, as a click navigates and highlights the subnet, similarly from the WEP panel and the PCM panel the subnet navigation can help locating a subnet
- Subnets can become inactive when modified - this happens when an internal connection is added or removed or when a tensor is removed from the subnet. When a subnet is inactive it's not lost, all the calculations are accessible still from the "Old versions of tensor networks" part of the Subnet panel. From this state the user can also clone the tensor network as a form of recovery, though it will not be connected to the old part of the network.
Subnets and calculations are persisted in the sharing URL and the JSON files: here is, for example the 3x3 rotated surface code canvas with the subnets from the video.
Floating Toolbar
The Floating Toolbar provides quick access to various operations and transformations that can be performed on tensor networks. It appears as a floating panel that can be positioned anywhere on the canvas and contains several sections for different types of operations.
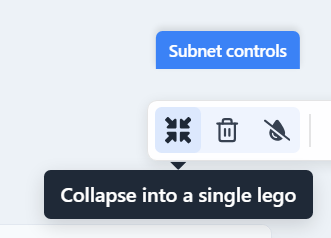
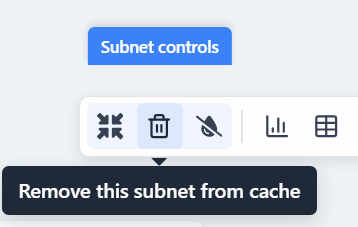
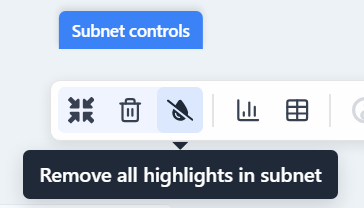
Subnet controls
The subnet controls section allows you to manage and manipulate subnets within your tensor network.
Legos can be collapsed into a single LEGO with the parity check matrix being the same as the subnets. Uncollapsing is not yet supported, track Github issue #147 for that.
If the subnet is named / cached it can be removed from the cache with this button:
If the subnet has highlights, this will remove all highlights within that subnet.
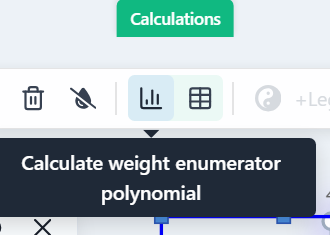
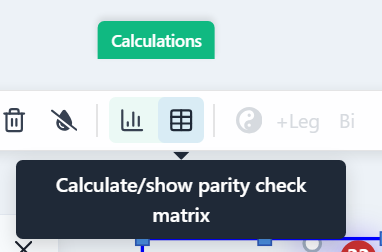
Calculations
The calculations section provides tools for calculating the weight enumerators and the parity check matrix for subnets.
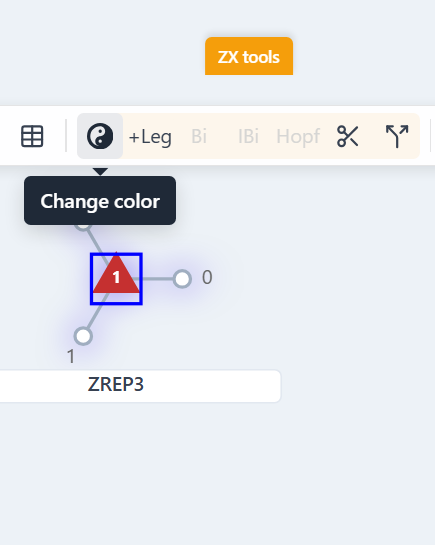
ZX transformations
The ZX transformations section offers tools for working with ZX-calculus diagrams and performing ZX-based operations on your tensor networks. These only apply to X and Z repetition code LEGOs. We highly recommend John van de Wetering's ZX-calculus for the working quantum computer scientist as a literature for the transformations here.
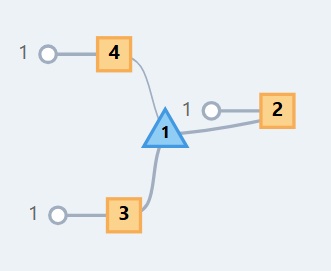
Change color
Apply a hadamard on all the legs:
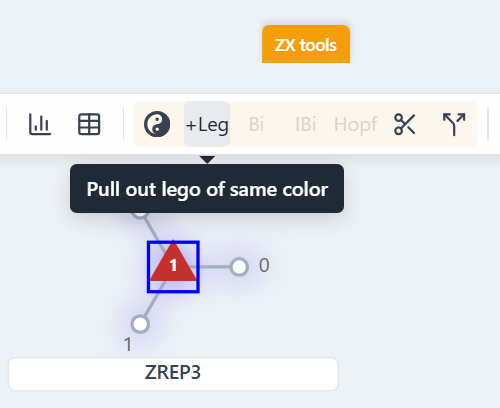
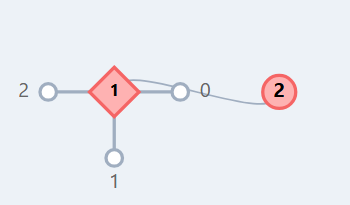
Pull out a leg of the same color
A special case of spider unfusion, pulling out an extra leg with the right colored stopper LEGO traced with it:
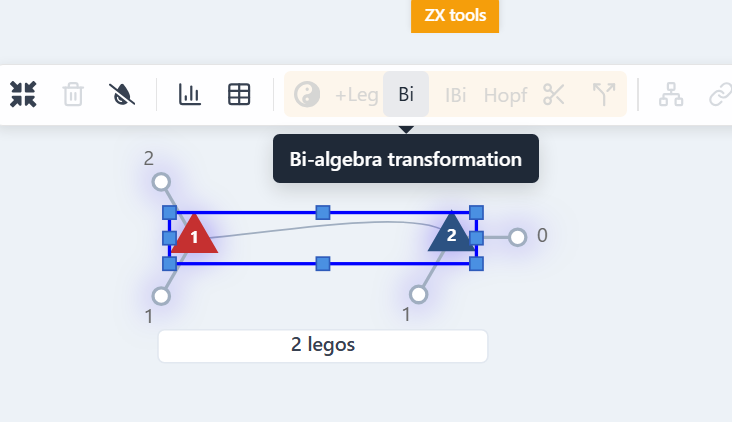
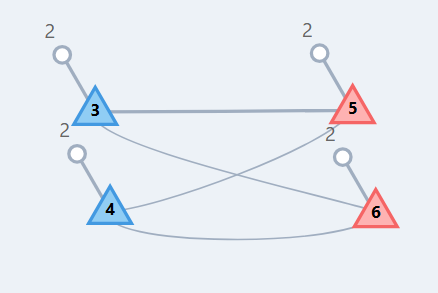
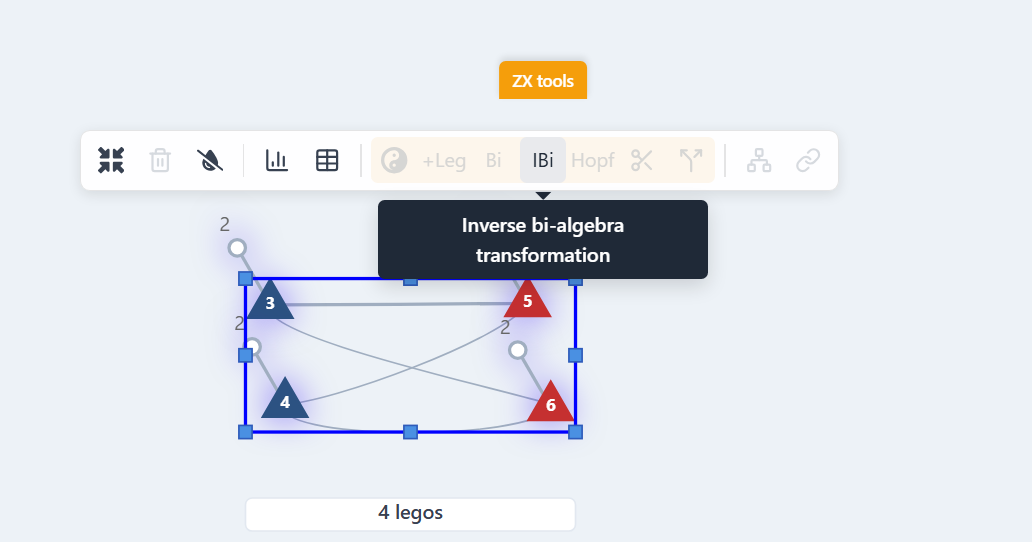
Bialgebra and inverse bialgebra
These rules can commute through neighboring Z and X spiders in exchange for an increased number of spiders and vice versa.
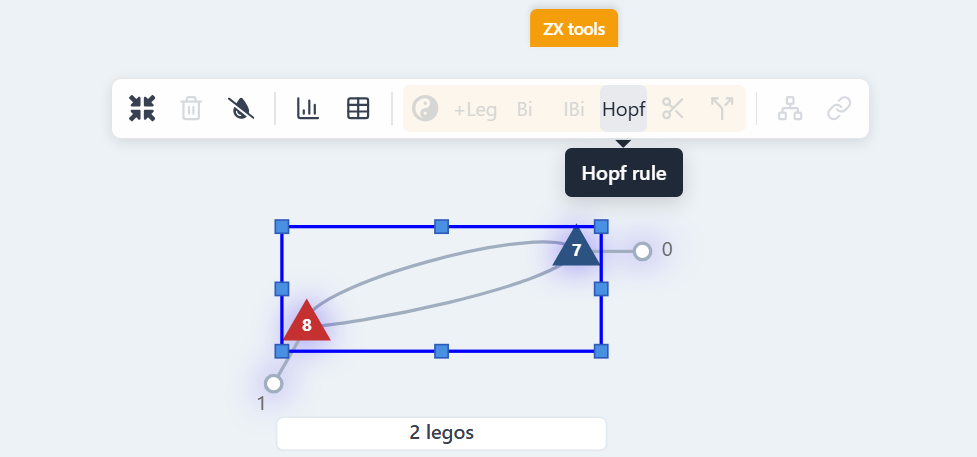
Hopf rule
If an X and Z spider has more than two connections between them, the Hopf rule can remove two of those connections at a time.
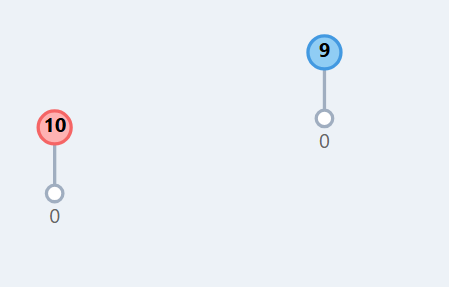
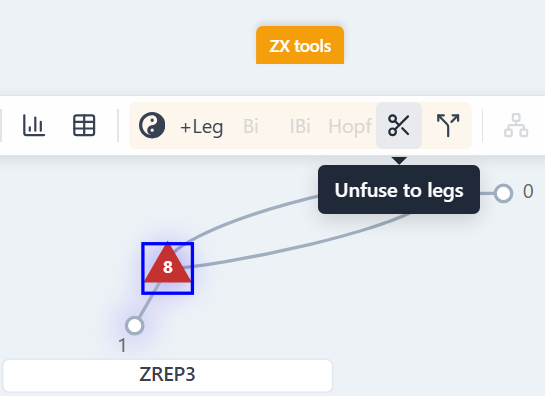
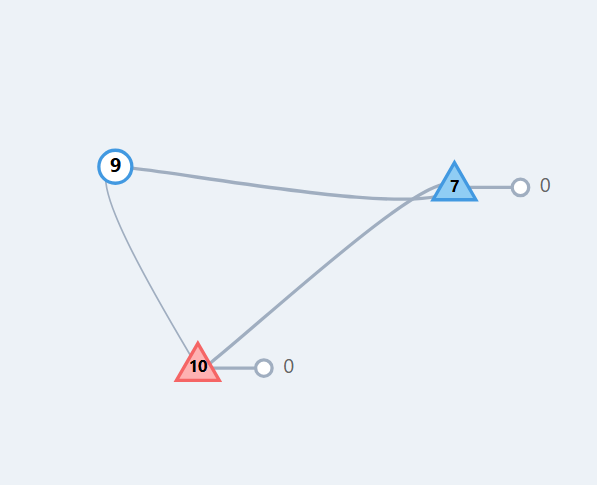
Unfuse to legs
Another special case of spider unfusion: one spider per leg is created of the same color.
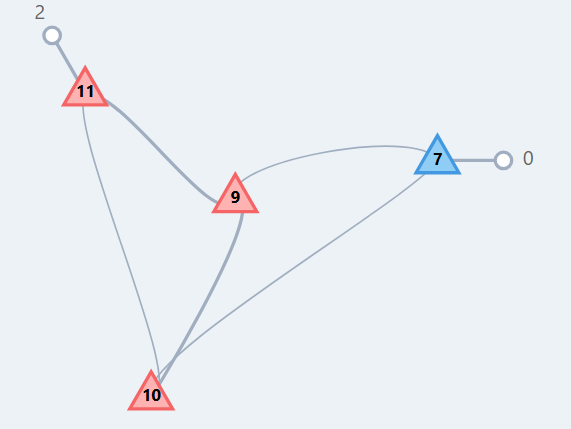
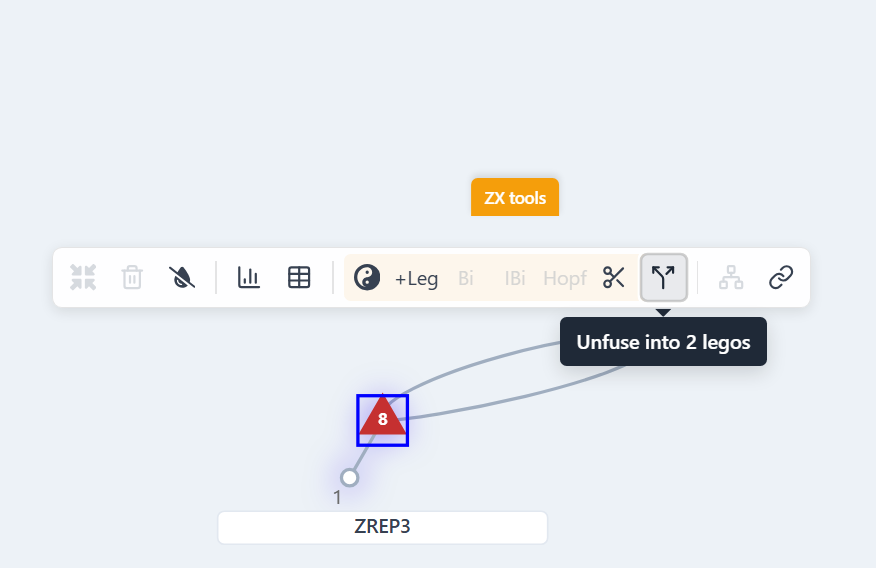
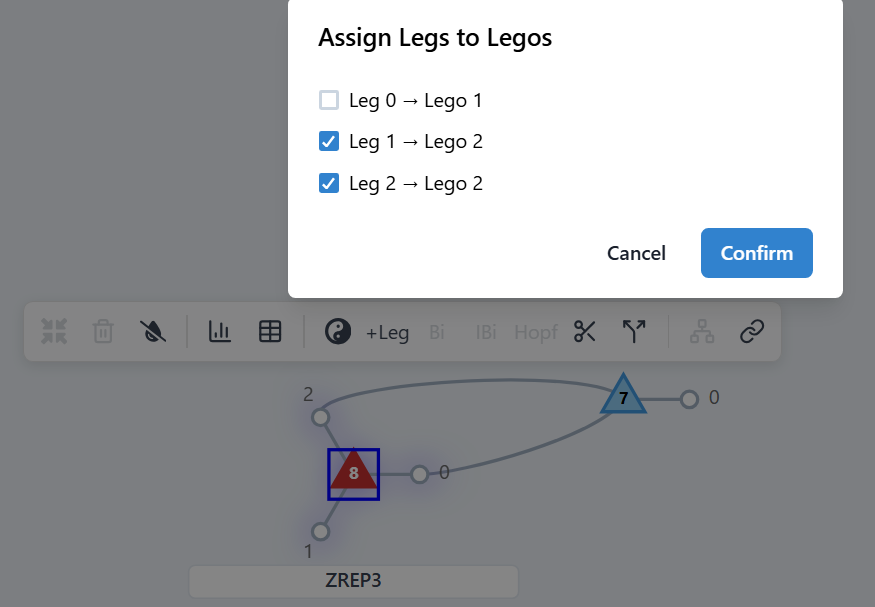
Unfuse to 2 LEGOs
This allows a more surgical unfusion: the user can specify between two LEGOs which leg will stay with which LEGO.
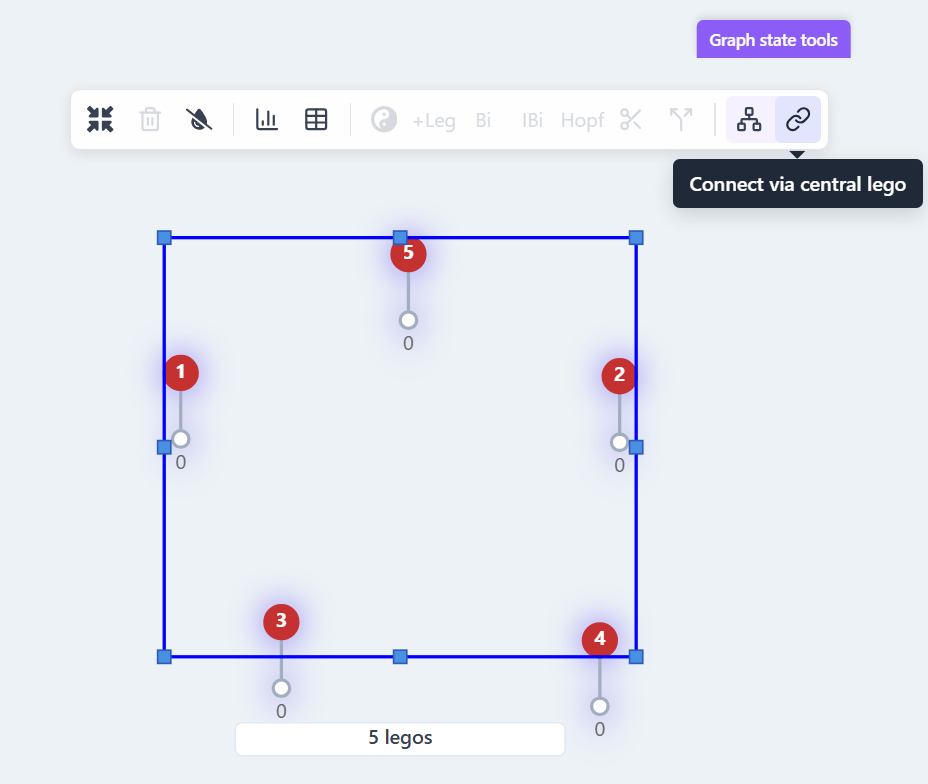
Graph state transformations
The graph state transformations section provides tools for manipulating graph states and performing graph-based operations on your tensor networks. Graph states are defined as graphs with "X-type" nodes connected by edges with a Hadamard on them. Thus, the user can start from X stoppers (|+> states) or Z-repetition codes. All these transformations preserve the number of dangling legs on the tensors.
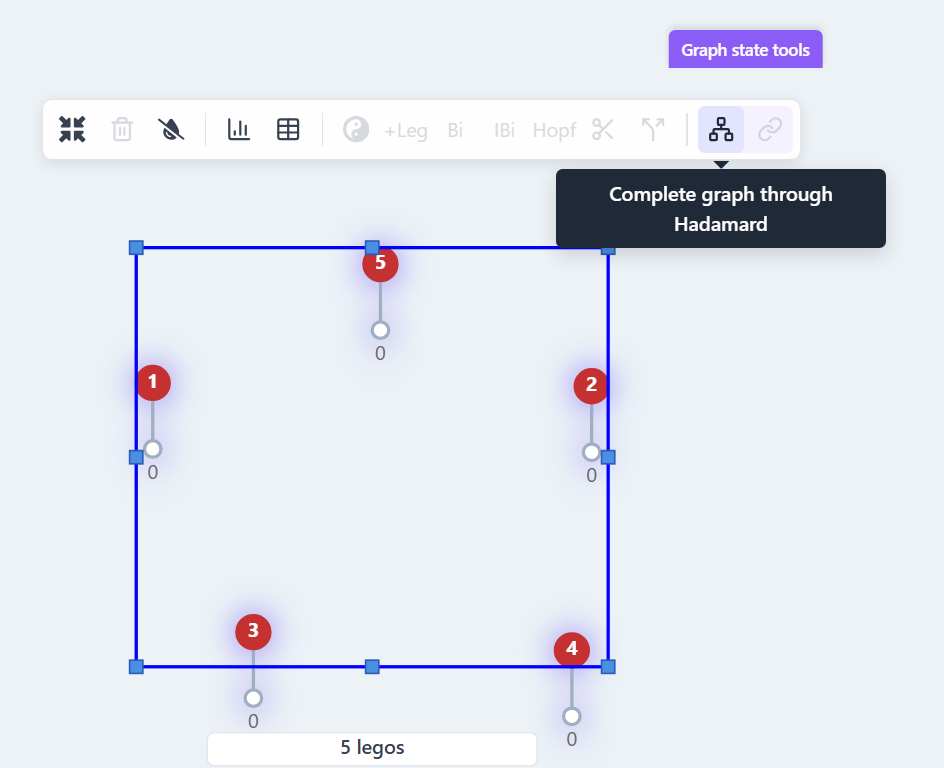
Complete graph through Hadamards
Creates a complete graph through Hadamards. Can be used to just connect two vertices.

Connect via central LEGO
Adds a central LEGO and connects the selected X-type nodes to this central LEGO.